3D Printer Cabinet Build: Part 7
Aug 18 2024
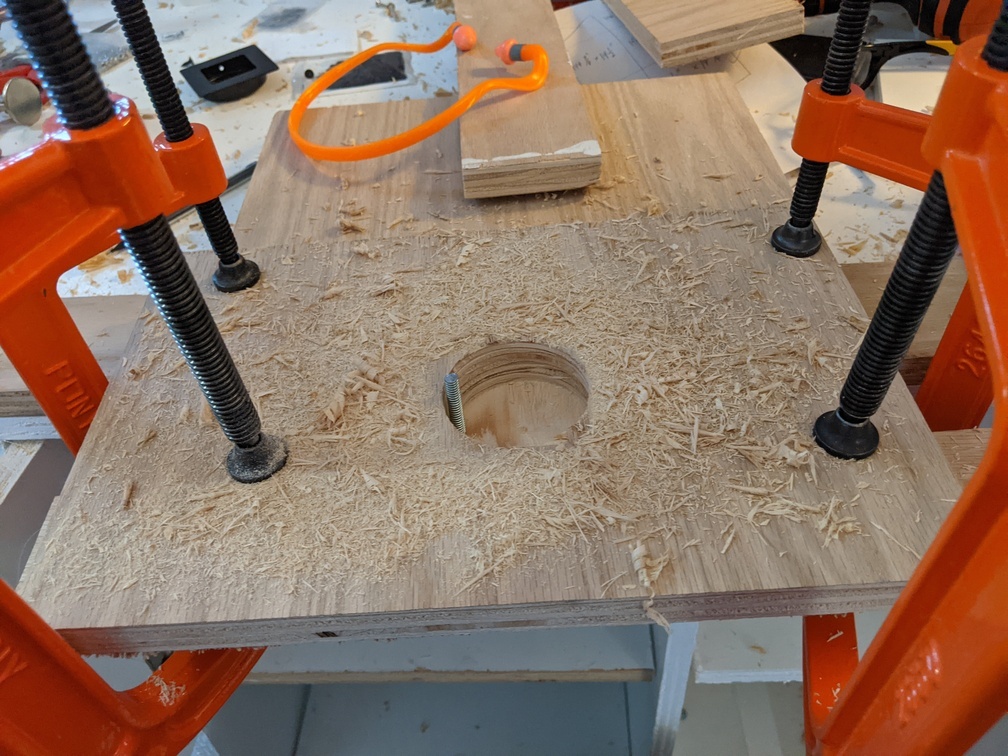
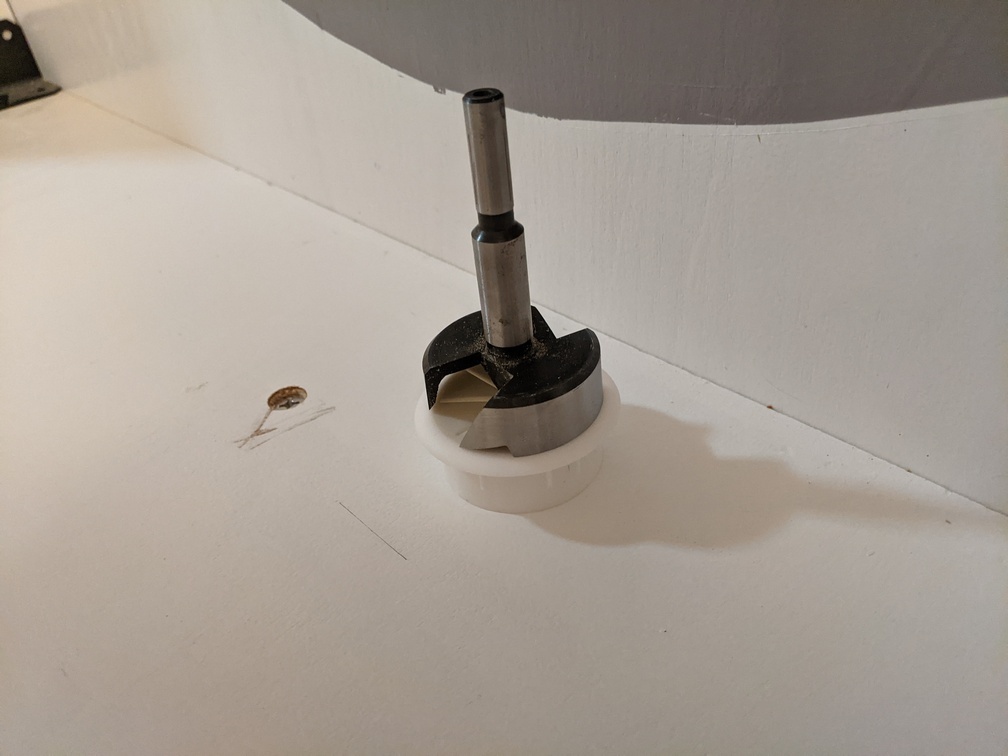
I made a last minute change to the choice of handles for all doors on the bottom half of the cabinet. While initially I was going to use the basic square handles on everything, I figured people would be less likely to accidentally bump into something if everything lower down on the cabinet was flush, with nothing jutted out. So I purchased some recessed door pulls and a 2-3/8" Forstner bit to cut the pocket. One issue I found was that the bit was impossible to control cutting into the doors, but I figured out a way to make my own rough jig my cutting a hole all the way through some scrap and then clamping it over where I want to cut the pocket. That allows me to guide the bit down and it can't try to fly all over the place. I used a bandsaw to cut some threaded rod I had laying around to the exact depth I needed to drill the pocket to.
This image shows the jig, the threaded rod, and the handles!
These handles presented additional problems. The holes to screw the handle into the wood are quite hard to reach, and the provided screws stripped very easily. My solution was to buy two things: the shortest torx screws I could find, and the longest torx bits I could find. I had no idea if it would work but it worked very well, and those handles are very securely fastened into the doors.
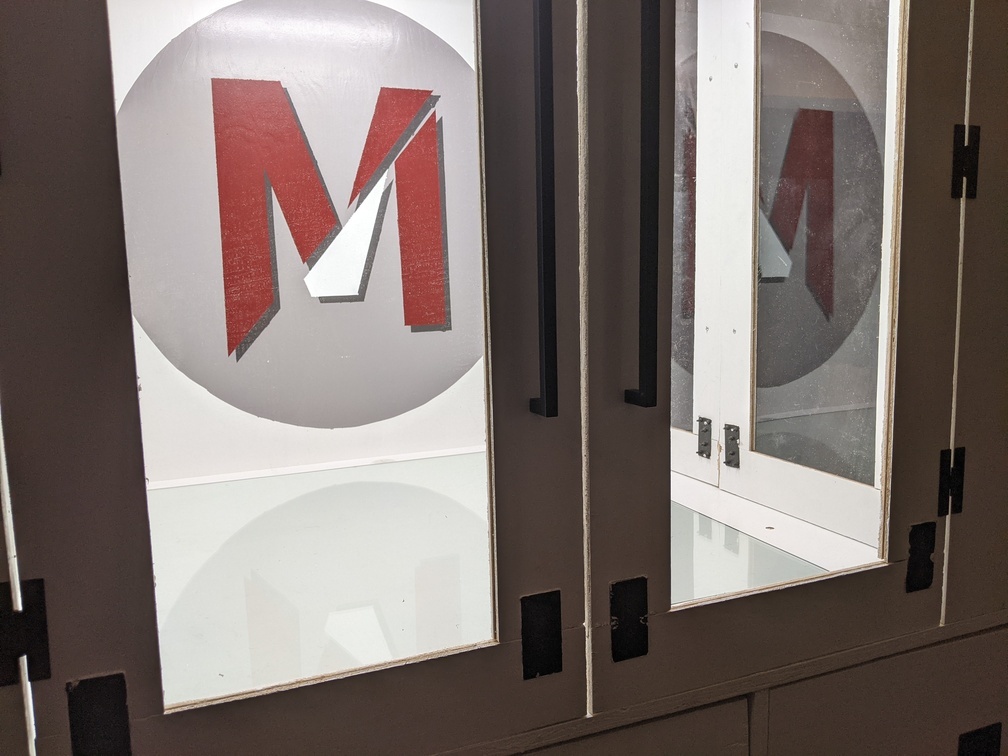
Not the most beautiful cubby doors ever, but I like them!:
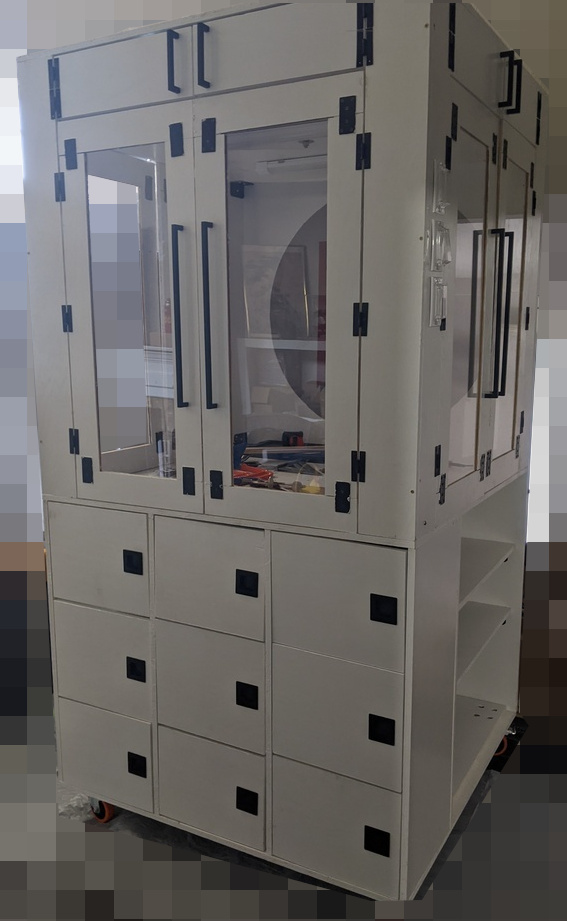
At this point I was thinking about weight capacity. I returned the stainless steel sheet I initially wanted to put on the interior surface and opted for a 4 foot square sheet of 3/8" glass instead. The weight of that plus the 3D printer would likely approach 100 lbs. So to do a quick weight check, I put something in the cabinet that weighs over twice that: myself:
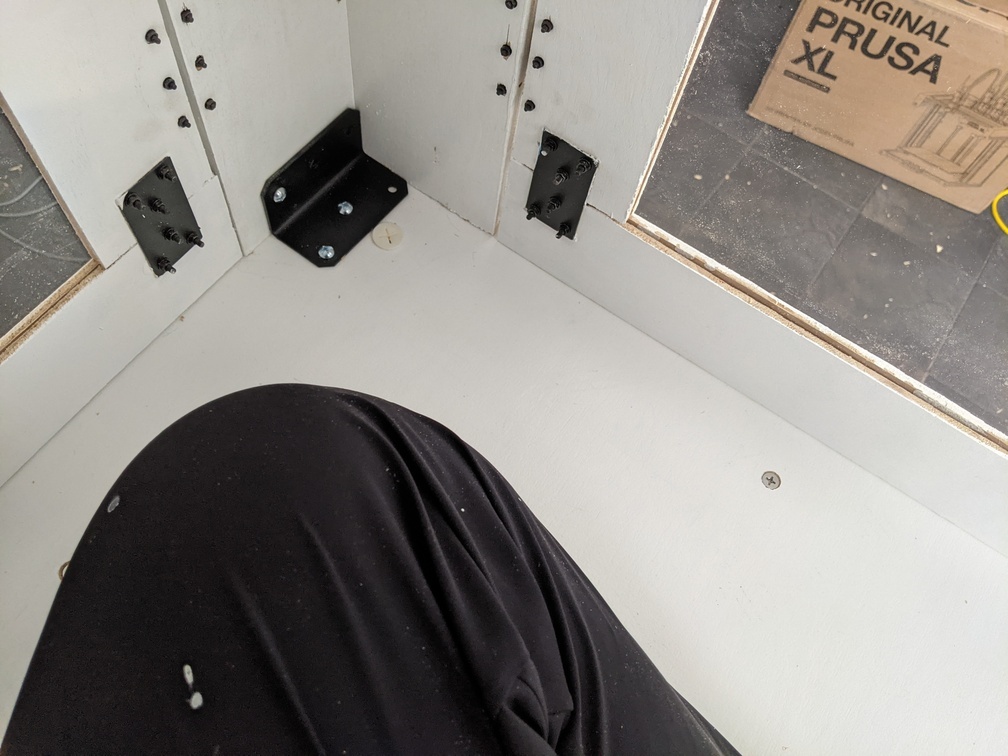
Not only did this cabinet not even make any creaking noises when I hopped in, but I discovered I can sit inside the top portion of this cabinet quite comfortably, even sitting straight up! I'm not concerned about its structural integrity at this point.
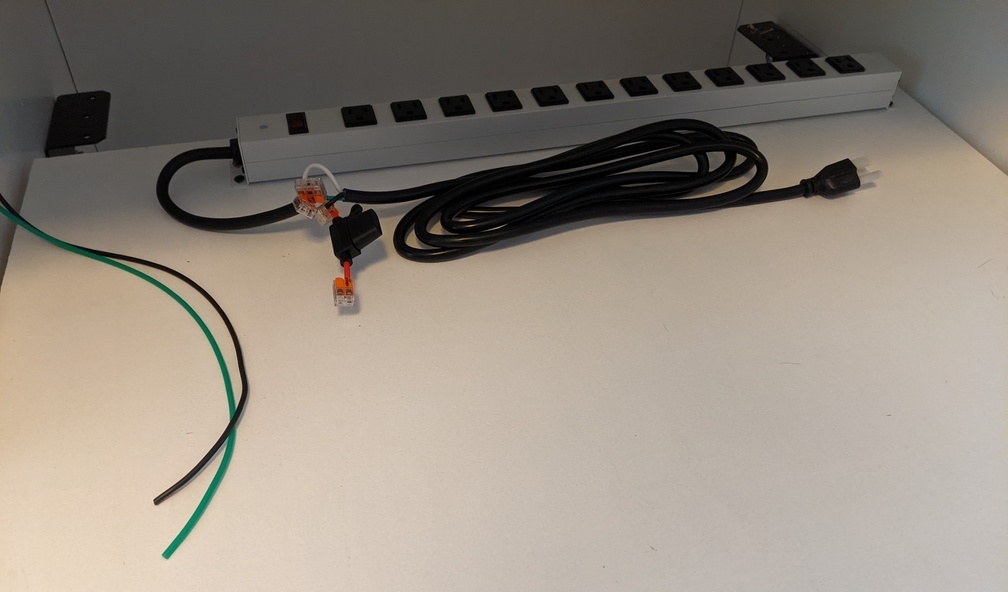
At this point I had everything together except the side doors, so now was the time to start thinking about cabinet wiring. I need to power the printer, any future accessories, as well as power the two ceiling lights I intend to place inside. I also wanted control over lighting and power using standard wall switches on the outside, as you can see already installed in the earlier picture above (along with switch covers so nobody accidentally shuts anything off).
The "source" of power is just a power strip screwed into the top left shelf of the cabinet. In order to control power through the switch I cut open the outer insulation and then used Wago Lever nuts (I cannot say enough good things about Wago Lever nuts) to connect to all the exposed wires (just ground and hot). For some extra safety I added a blade fuse holder to the hot wire and stuck a 15 amp blade fuse in there. Then I ran ground and hot to the main power switch so it can be controlled safely from there. All the wire carrying AC power is 14 gauge as that is rated for 15 amps, and you never know if a large 3D printer might suddenly try to draw that much current.
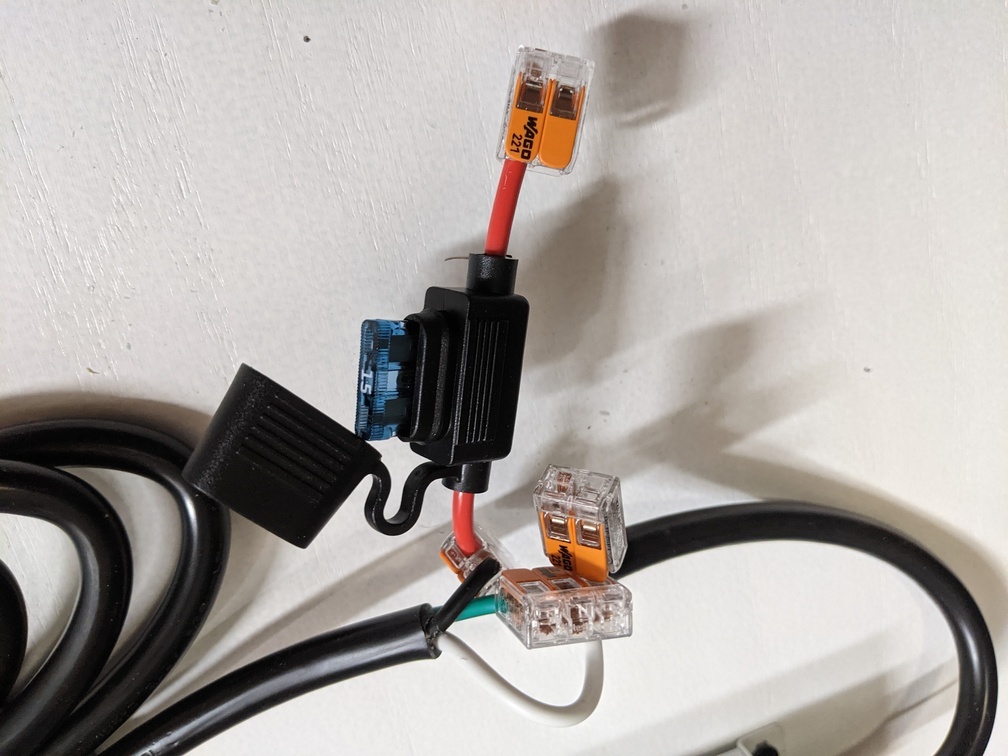
Once the lights were screwed into the ceiling, I wired those through the middle switch and down to a plug plugged into the power strip. The final wiring setup feels very solid, with everything grounded, fused, and with no exposed conductors.
I cut a big hole for a 2 inch cable grommet into the rear interior surface of the cabinet using a Forstner bit
This would be used for running power down to the power strip.
With the lights installed and the glass surface in place, the interior was starting to look quite nice!
To avoid being too reptetive, I will skip over the installation of the side doors, which was really just a a repeat of the cubby doors. At this point I had a good process for assembling these doors so it didn't take as long. My goal now is to get to the "cabinet is done lets build the printer" stage. Ideally next weekend!
Comments