3D Printer Cabinet Build: Part 6
Aug 11 2024
With the basic skeleton of the bottom half completed, it was time to finish out the remainder of said skeleton. By "skeleton" I mean pretty much everything short of the doors (and this cabinet is pretty much... 50% doors).
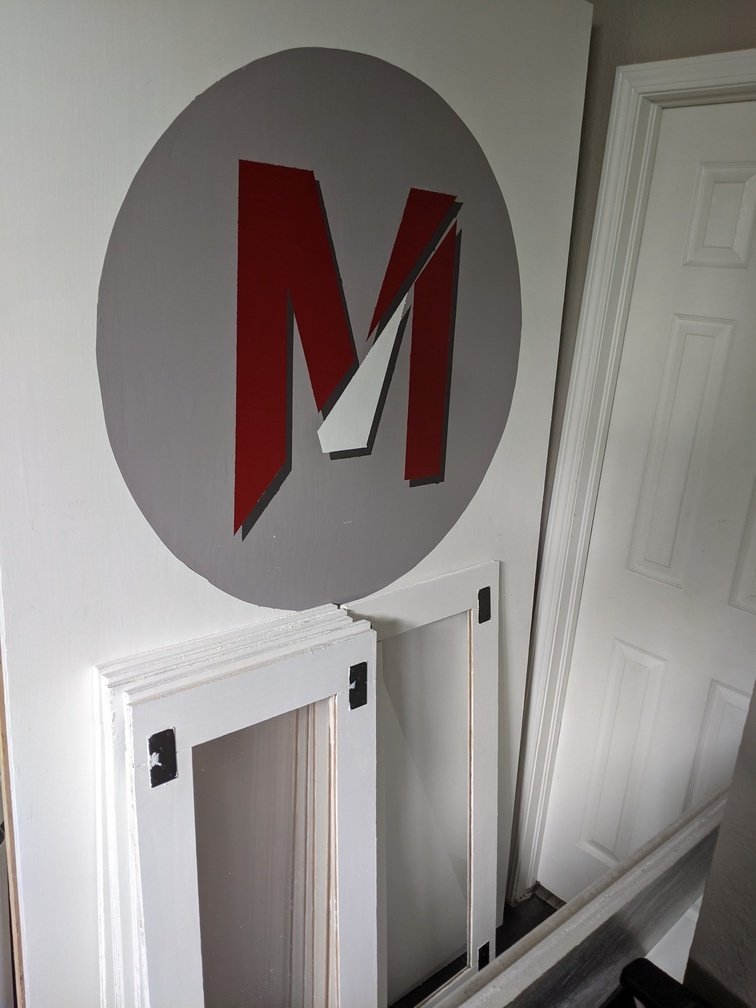
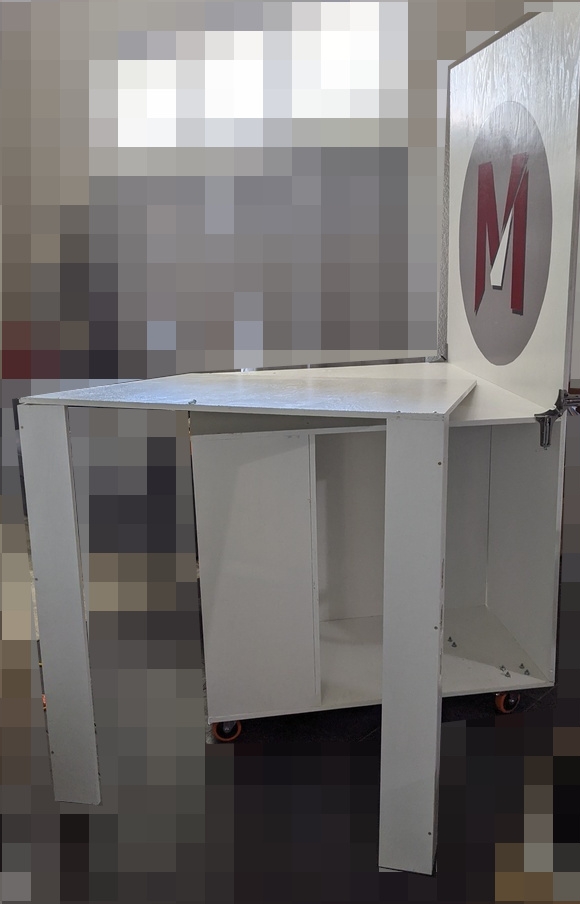
So I screwed on the large back piece with the logo, and then joined together the roof and its supports. Attaching the roof was quite the process, I don't know how I would have done it if my living room didn't have such a high ceiling, because I tipped the whole semi-assembled cabinet over so it rested on its front side, and the screwed in the ceiling. I had to use every ounce of my weight to tip this thing over and pull it back up. If I had assembled anything else I don't think this would have been possible!
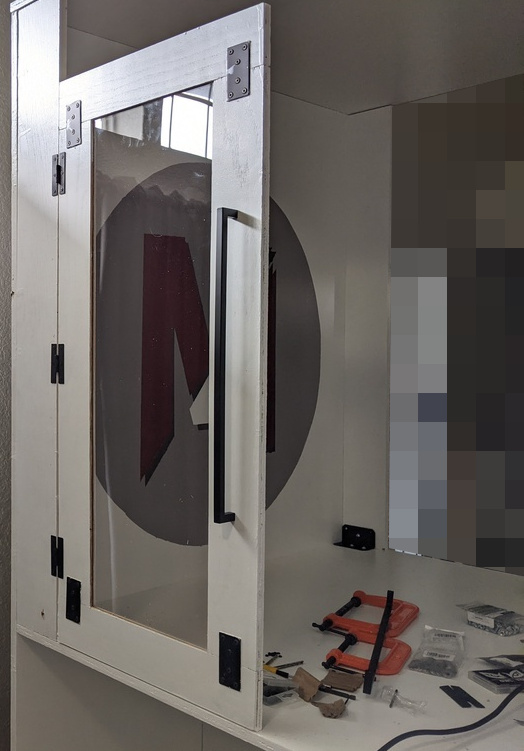
I then worked my way around the cabinet, assembling every door using these black H-hinges to keep going with the black-on-white color scheme. A big issue I had was placing things correctly so the doors didn't scrape the cabinet surface. I somewhat "cheated" and used a belt sander to provide the little bits of clearance needed as I went along.
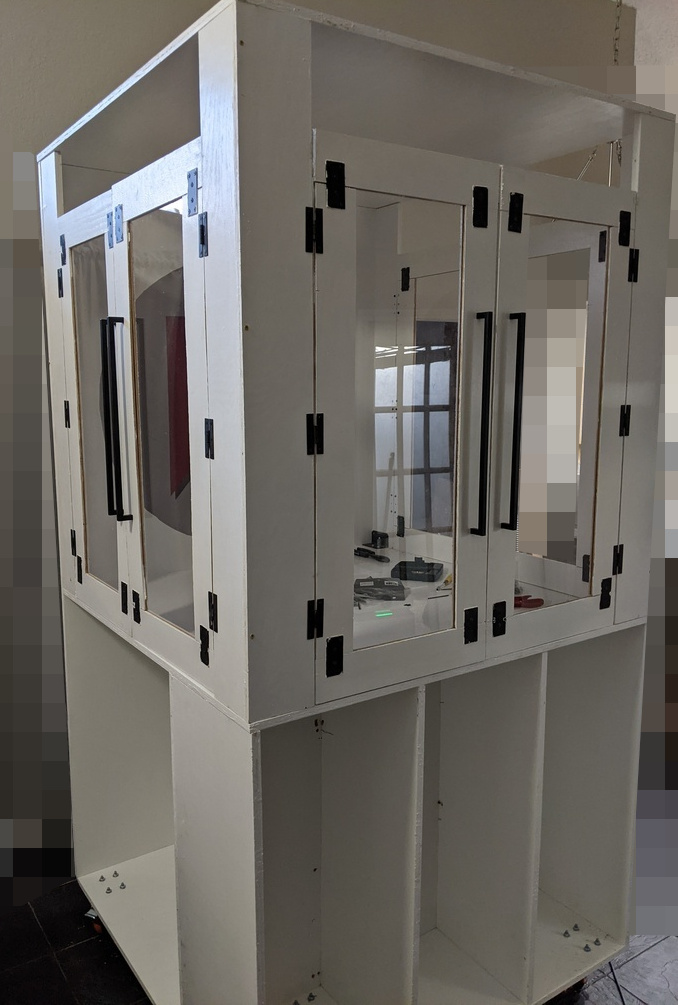
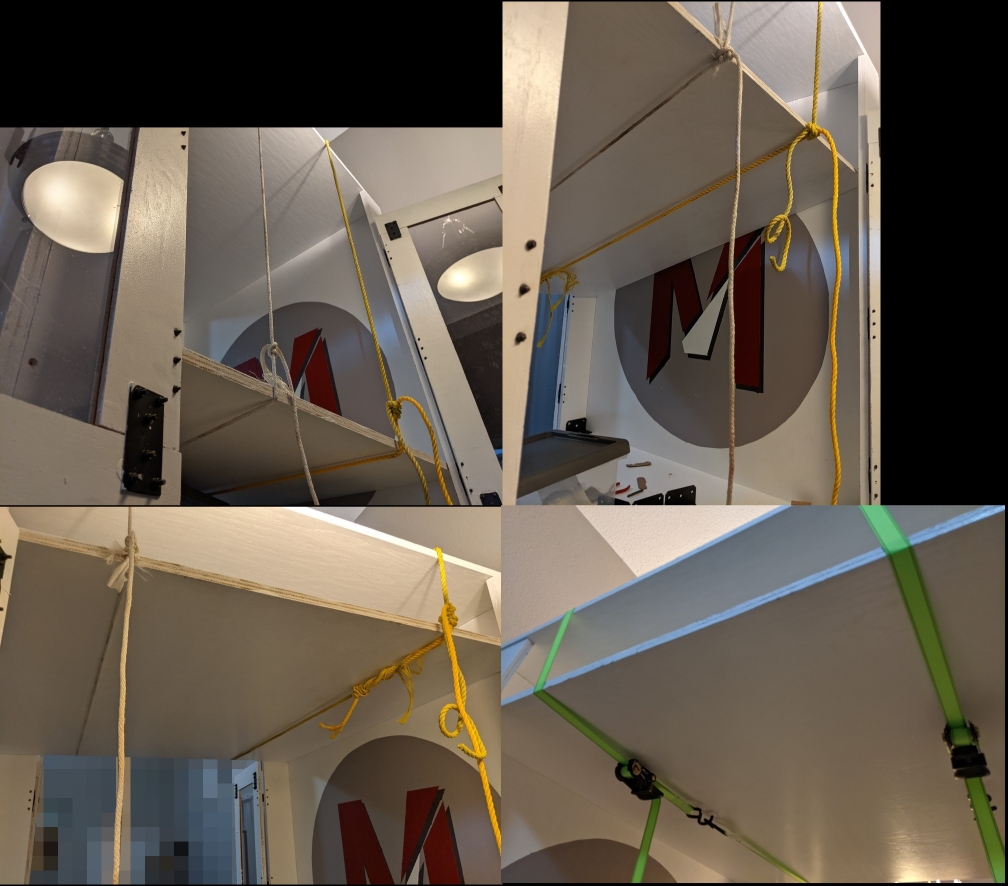
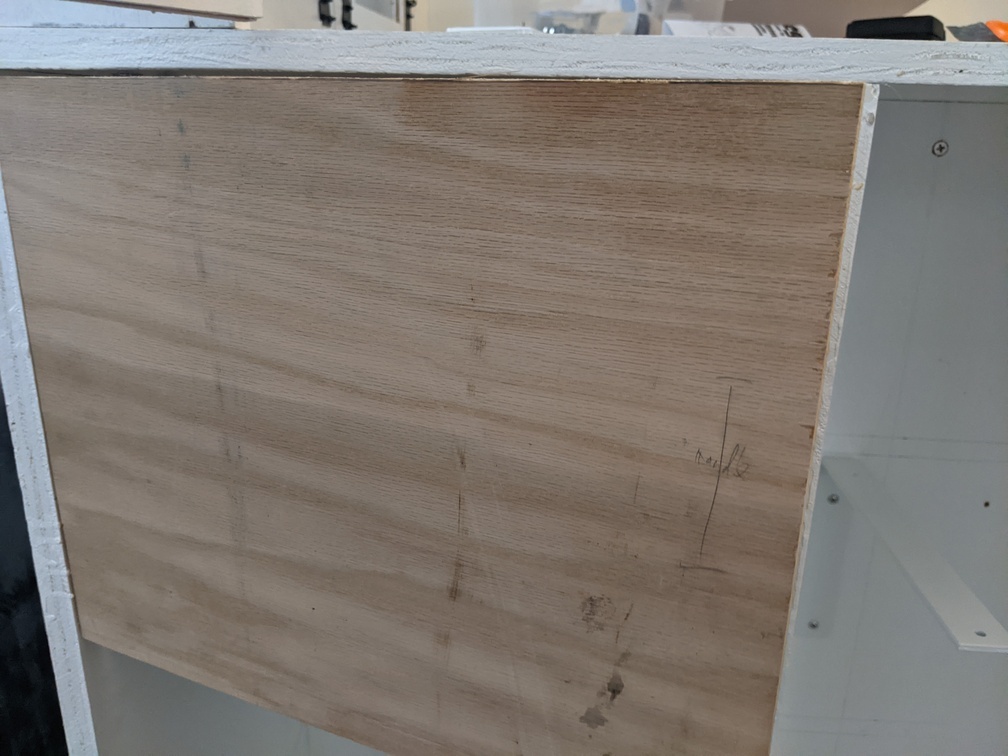
The next step probably should have come before installing the doors, but it was time to install what I called the "attic floor". The surface that sits just a few inches below the roof piece which will then have doors around it on all sides. Unlike the roof, which sits on top of everything, this attic floor piece is intended to be placed on angle brackets drilled into the interior sides of the cabinet. This means the large floor piece needs to already be in place inside the cabinet before the brackets are attached. This meant figuring out how to get this very large and heavy wood piece suspended 7 feet or so above the ground, without any help.
I figured I could use ropes to slide the board up, and then ratchet straps to hold the board in place. I did some quick searching online and found a knot that would serve this purpose: the taut-line hitch. Using two old ropes I found, I used this knot and very slowly worked the board upwards. This was a rather long process. I had to walk back and forth to each side of the cabinet, sliding each side of the board up a few inches at a time. Pulling the rope through the knots as I went up gave me a blister that took three weeks to heal, woops! I probably could have just used the ratchet straps for the whole thing, but the ropes worked well regardless.
Once the board was in its elevated place, I replaced the ropes with ratchet straps, and screwed in the angle brackets.
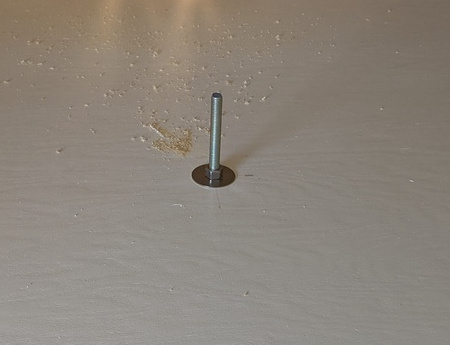
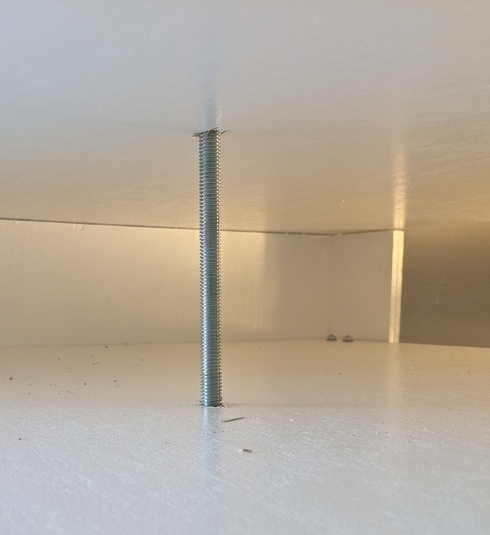
The angle brackets supported the sides, but I felt the dimensions here are large enough to warrant support in the center. Since the roof has structural support going all the way to the bottom of the cabinet, I just bought a threaded rod, nuts, and washers to let the roof provide some support to the attic floor.
The last "extra" step I did was test out assembly of the first cubby door. I used yet another great jig from Kreg for installing inset hinges:
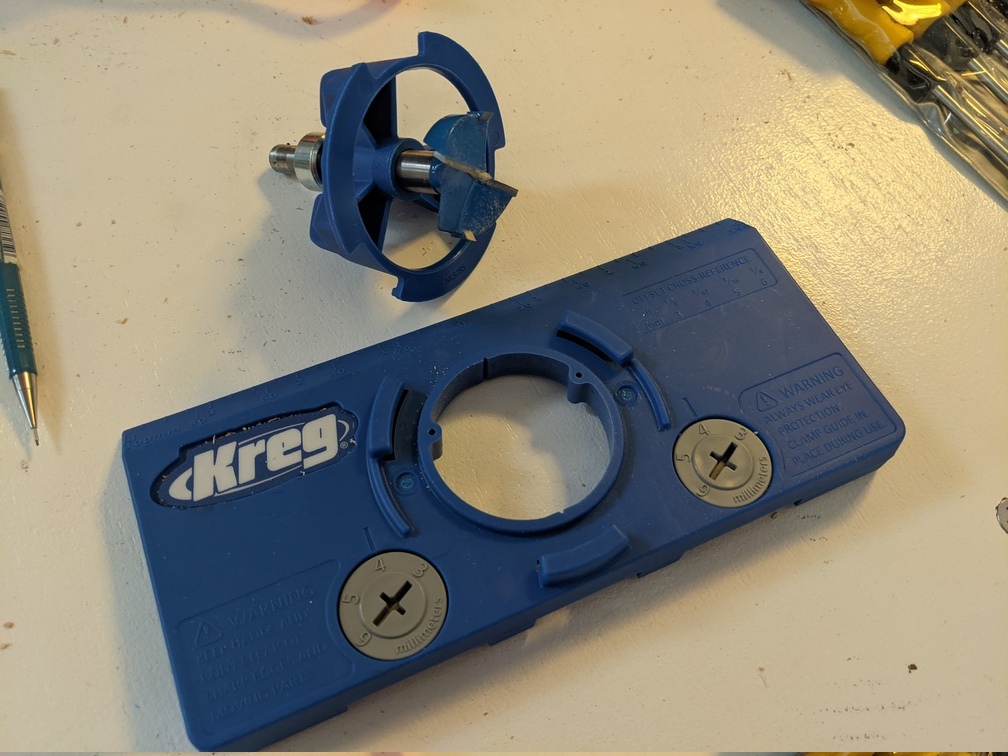
And the door fits well! The soft close is very satisfying.

Things really feel like they're coming together at this point. It has been a quite a bit of work so far. Out of both a need to use up some leftover dates and to treat myself, I marked the end of this stage with some sticky toffee pudding (which I'd never had or even heard of until very recently). Very good, especially with ice cream.
Comments
No comments yet. Be the first to comment!