3D Printer Cabinet Build: Part 4
Apr 27 2024
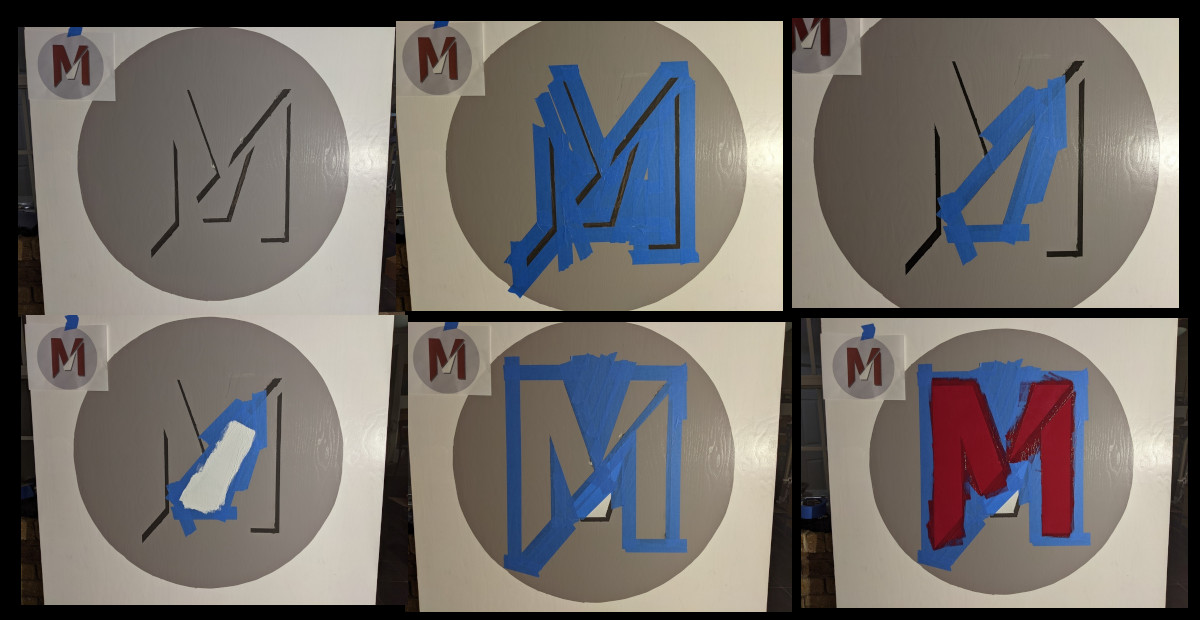
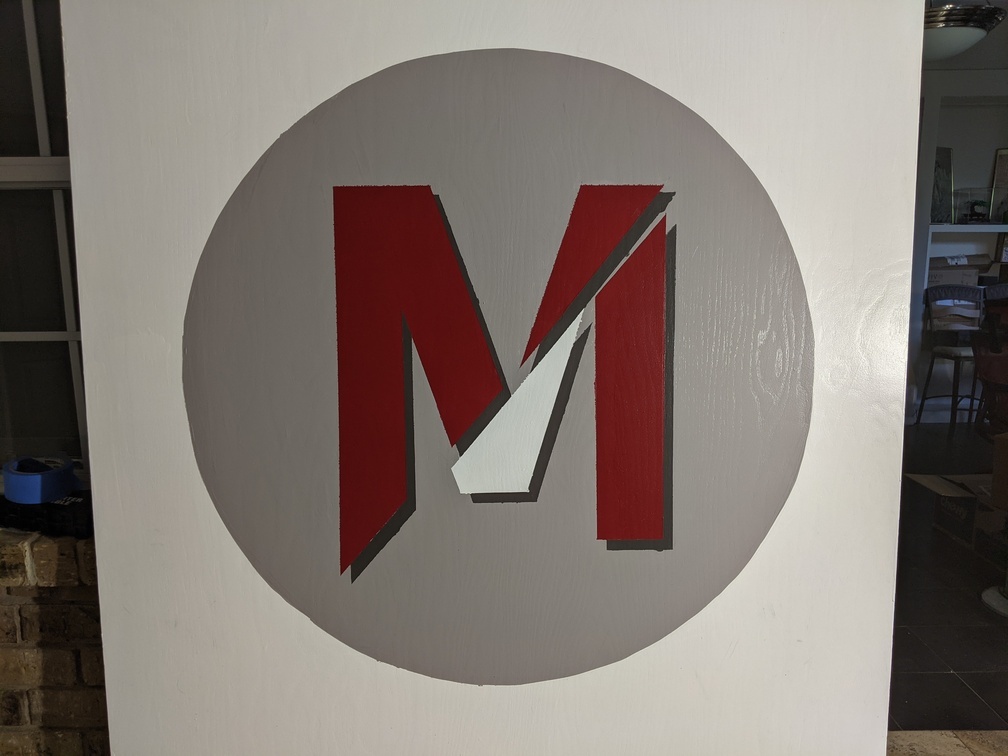
With my background painted and my poster printed, I taped down the poster and painted the dark gray shading.
Because I am using latex paint and not spray paint, I couldn't fully utilize the stencil, but since the M is made entirely of straight lines, its not hard to eyeball it as needed. I spent a great deal of time and went through a lot of painters tape, but the end result was pretty good!
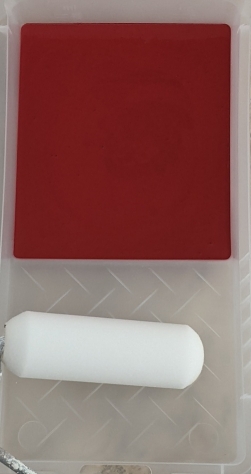
Look at this nice dark red paint!
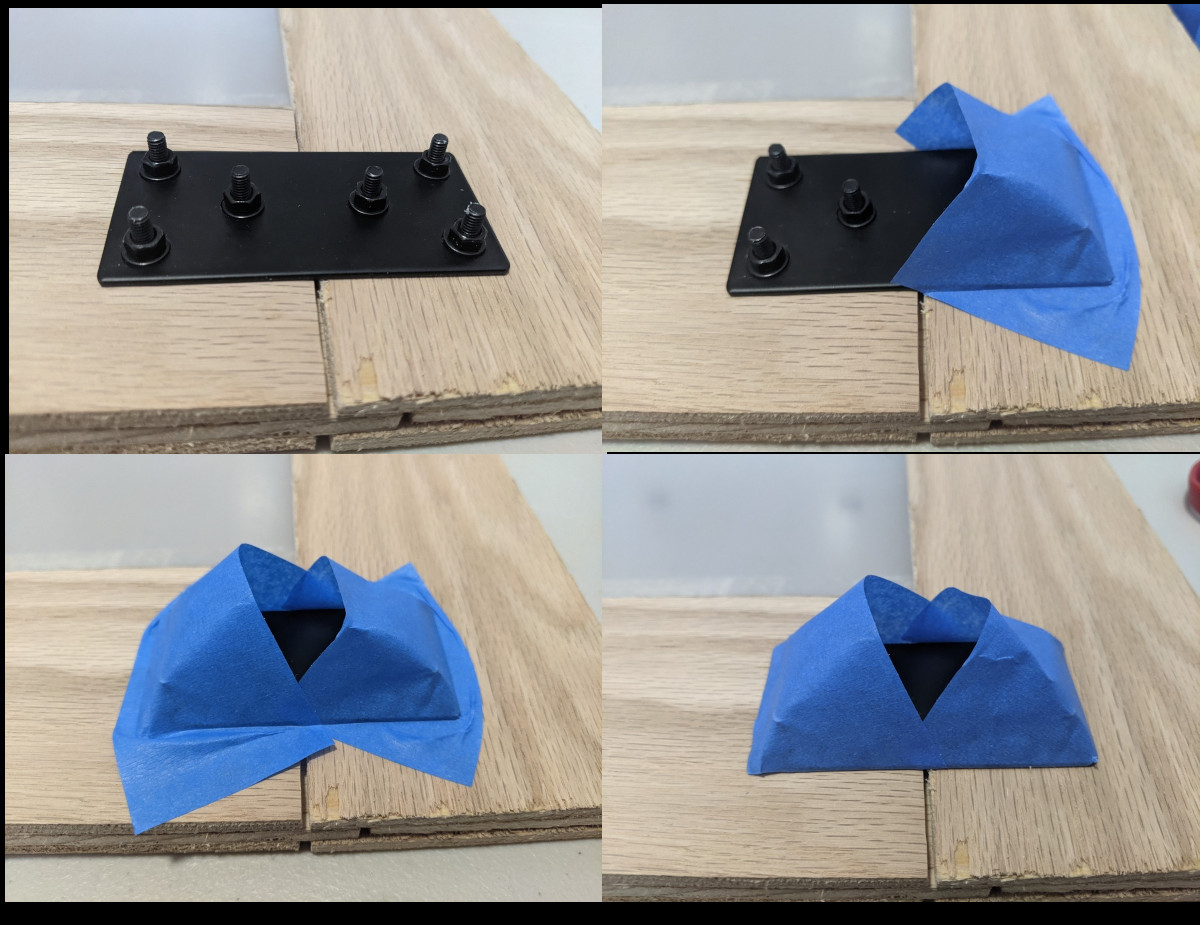
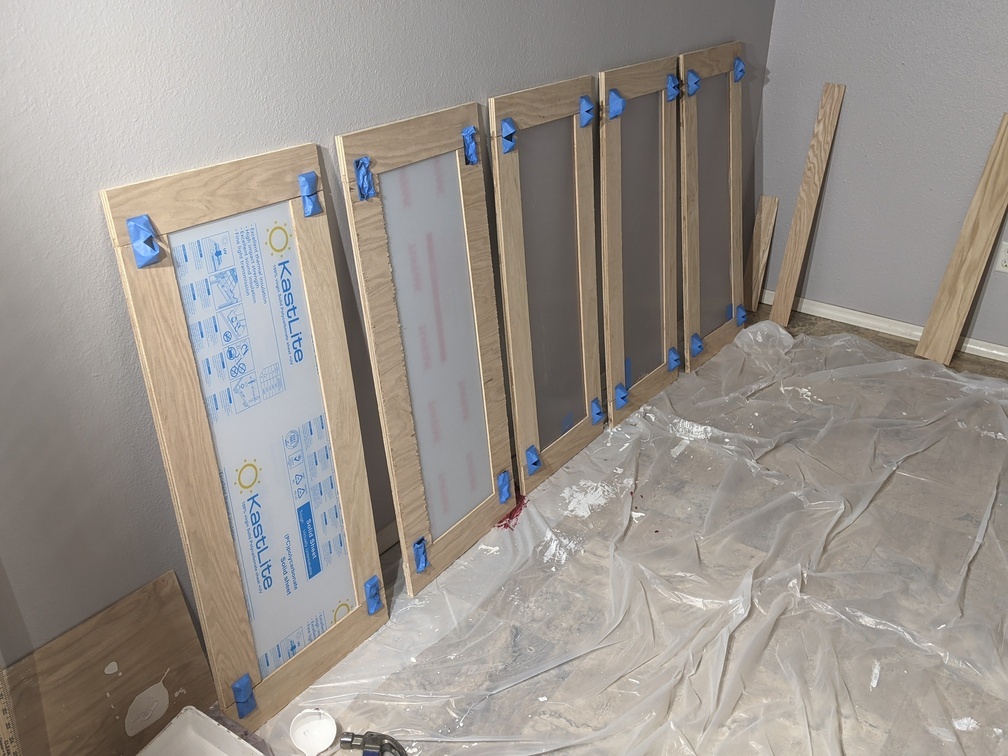
After the M was completed, I assembled and painted all 6 of the main doors. On the interior side of the doors the bolts stick out, so taping over them for painting proved difficult. The best process I could find that wouldn't be too time-consuming (though wouldn't perfectly protect the bolts from getting some paint on them) was to tape over each side as shown, the cutting around the base with a utility knife.
The doors ready for painting:

The last task I completed was cutting and painting the top and bottom boards of the cabinet.
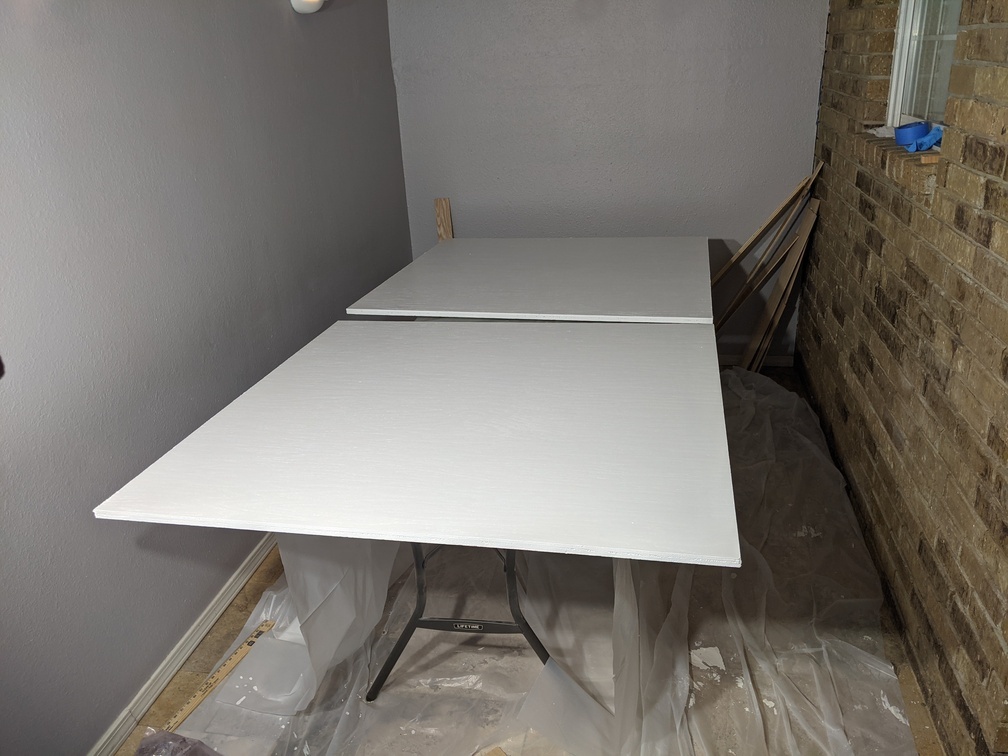
With the pieces I have now I'm really starting to get an idea of the size of this thing. I am 6'5" and if this cabinet was hollow I could comfortably stand inside this thing and still have room to move around a little bit. According to google a phone booth is typically 3 feet by 3 feet by 7 feet. This cabinet is a foot longer in each dimension!
This cabinet project is now going to be put on a hold for a couple of months, in order for other projects to be worked on.
Comments
No comments yet. Be the first to comment!