3D Printer Cabinet Build: Part 3
Apr 20 2024
Ever since I made the red "M" for my website a few years ago, I occasionally experience a strong desire to place it on things. This feeling got the best of me recently and I have now added some extra steps to the 3D printer cabinet project. I'm going to add the M to the back inside wall of the cabinet so it forms the backdrop for the printer. I had the logo printed at FedEx as a 36"x48" poster, which I intend to use as a stencil. I am basing this concept off a video that I recall watching years ago from Alan Thrall describing how to build a deadlift platform. Instead of spray paint I'll be attempting to use latex paint that I roll on.
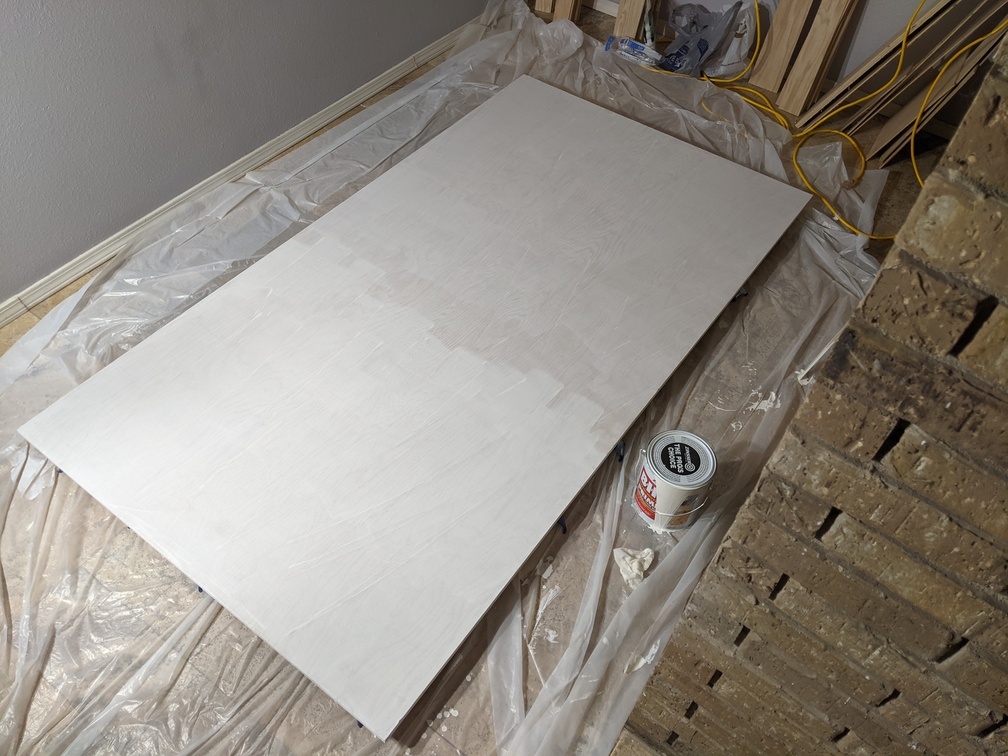
But first I needed to get the piece that will be the back of the cabinet. This is the largest piece of the entire project so I figured it would be best to get this out of the way early on, especially since it will take up a lot of real estate in the painting process. Its a single sheet of Oak plywood, 4 feet x 8 feet. I made the mistake of having it shortened at the hardware store instead of doing it myself so they cut it to 87 1/4" instead of the requested 87 3/8". Thankfully since the doors and this back piece are the only pieces I have so far, I could pretty easily adjust the CAD model to this new locked-in dimension.

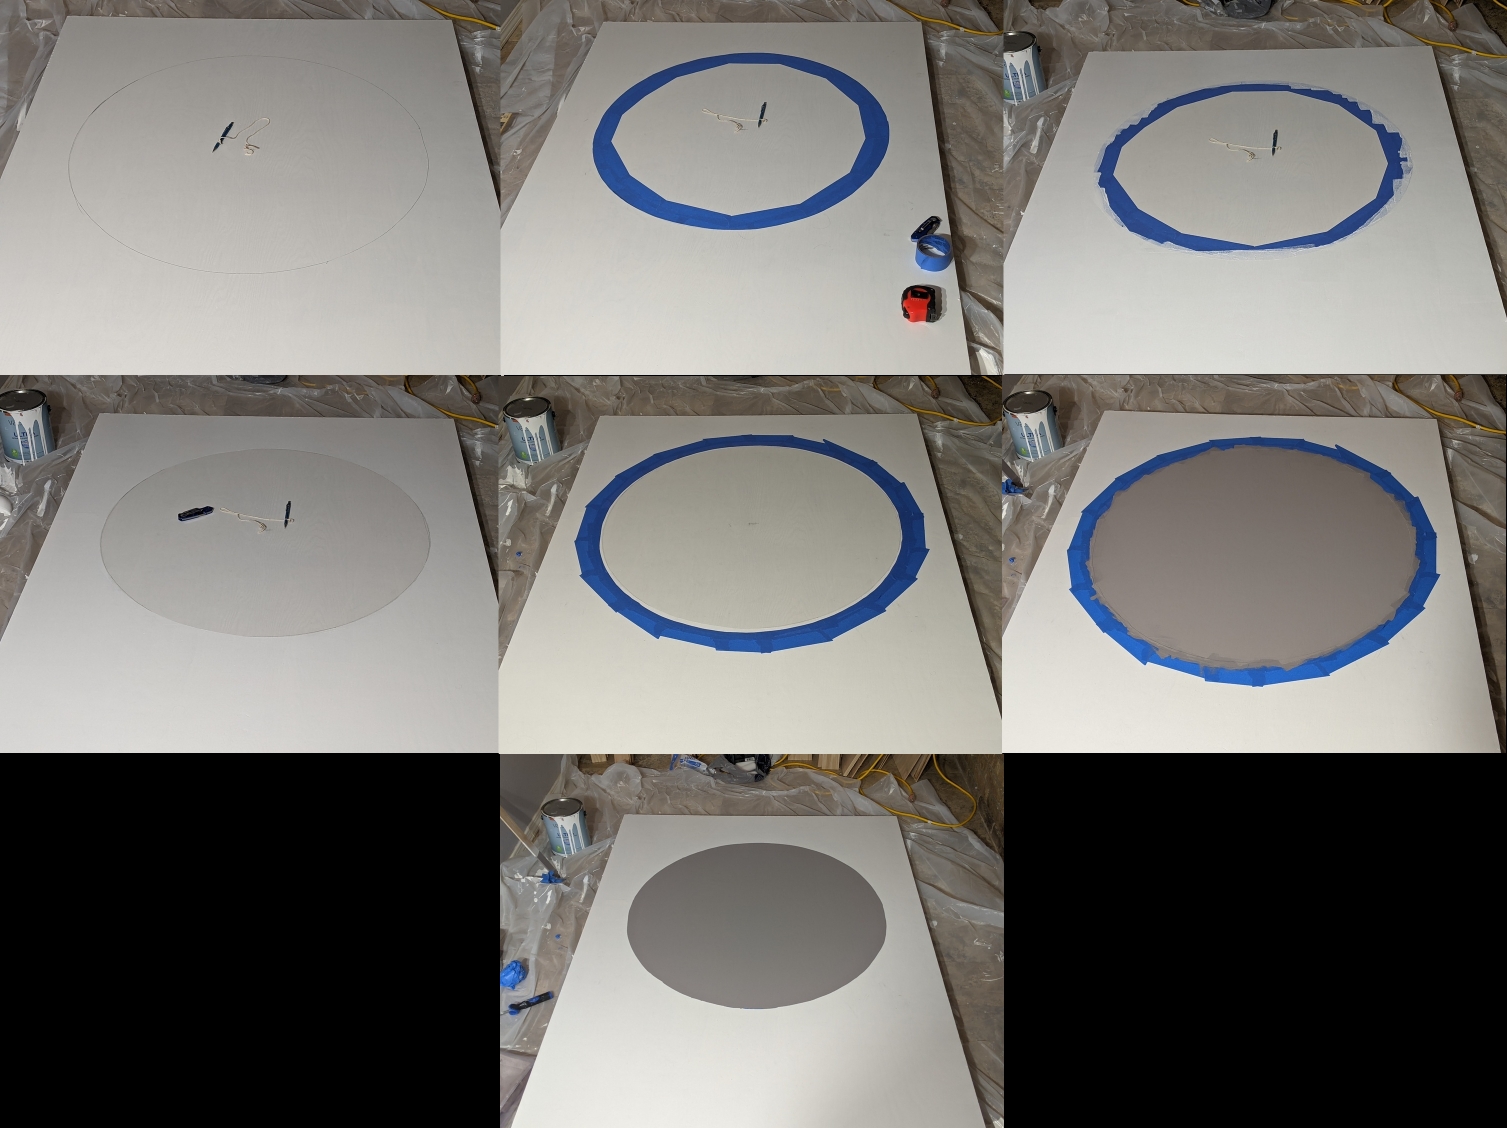
I wanted a light gray circular background for the "M" so I used the classic technique of hammering a nail down, tying it to a pencil with a string the length of the desired radius, and then circumscribing away. I drew the circle twice, once to mark where to put down painters tape, and the second was drawn atop the painters tape so I knew where to cut with a utility knife to remove the painters tape. I opted to paint the two layers of white paint first, so I was using the tape to prevent painting the inside of the circle white.

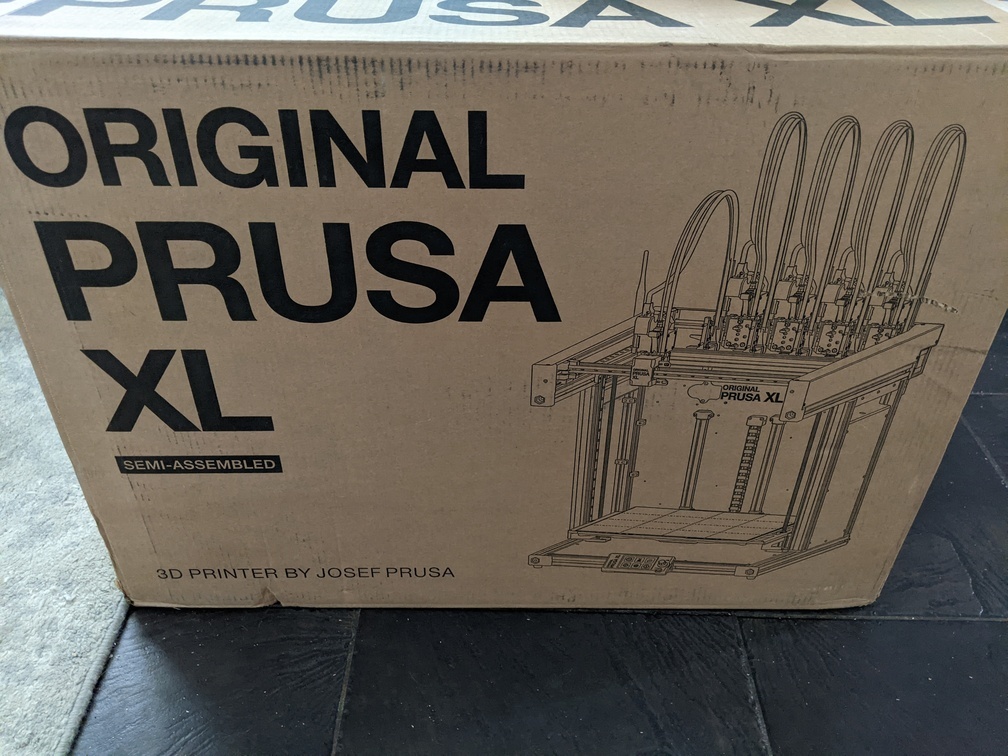
Also, after months of waiting for shipment, some back-and-forth with DHL, and ~$130 in import duties, my printer has arrived! Its going to sit in the box until I have a place for it though, namely this cabinet.

Comments
No comments yet. Be the first to comment!